Happy Halloween Everyone! Scary movies aren’t my thing but Halloween is one of my favorite holidays growing up. I would always dress up my dogs in my skirts and hats even. I can’t believe they let me do that! This year will be fun with the kids now that they are starting to understand the holiday. The pandemic this year has made it an uncertain day but I think it is time to venture out and get some normalcy back. It probably will probably be an early night anyway since they are young still. I have started a few traditions like a visit to the pumpkin patch with a night pumpkin carving and pumpkin seed cooking. They don’t like that quite yet. I also tried on costumes practicing for the big night with them. They enjoyed that but not sure if they understood the concept. I tried to teach them the trick or treat songs with Curious George’s Halloween book but they mostly just danced around laughing and saying the word BOO! The kids are what makes it fun and now that I have some, I feel like a kid again.
I thought for this spooky holiday season I would try something new with photography and share some of the experience to others. Dressing up in costumes is everyone’s favorite thing about Halloween and I thought having some eerie colored smoke in the background would be interesting for a photoshoot set up.
In the beginning photography was a lot of trial and error. One thing that came in handy was a photoshoot checklist.Some things you may not use during your shoot but if you have it handy it makes a huge difference when you’re in a bind.
When starting out in photography it can be overwhelming with all that is going on at once, directing your subject, and planning the whole shoot to go smoothly. I will say no matter how organized or planned you are, you always expect it to not go right because if you have that mindset when you go into it, it is easier to make a plan B. The stress will be less because you prepared your mind to adapt to a new situation. This is the best advice I can give new photographers when starting because it has kept me moving forward and learning from your mistakes so that your next shoot is better.
Steps to a Photoshoot
- Brainstorm Ideas
- Secure a location
- Vision Board & Outline
- Find Models/Clients
- Timeline
- Shooting Day
Brainstorming Ideas
Brainstorming is an idea or theme. Brain dumping helps to develop the idea. Brain dumping is just jotting down everything that comes to mind. If you have a paying client, create some visuals and ideas. This will help them get ideas of what they want for their shoot. For the Halloween series, since I wanted to try colored smoke bombs I needed to do some research ahead of time. I watched some videos and checked out multiple smoke bomb companies. I even bought a few extra bombs to practice beforehand. That was very helpful and I was able to see how the smoke worked while photographing my subject and was able to adjust the technique of the smoke.
Secure a Location
Securing a location is an important part of setting up a shoot. Things always get changed during this step and it still happens to me now! In fact the locations for this blog were going to be at various spots and I found out later that the smoke was going to be an issue with the city. The location changed to my backyard to reduce the issue and so I didn’t have to pay an extra fee. I had to contact the subjects and tell them about the change. Luckily, everyone was accommodating but that might happen. In previous shoots I had called places and set up shoots only to find out after I got there that I wasn’t allowed or a fee was needed. If you are a student photographer places are more accommodating, so be prepared for this when you choose public places.
Steps to a Photoshoot
- Brainstorm Ideas
- Secure a location
- Vision Board & Outline
- Find Models/Clients
- Timeline
- Shooting Day
Brainstorming Ideas
Brainstorming is an idea or theme. Brain dumping helps to develop the idea. Brain dumping is just jotting down everything that comes to mind. If you have a paying client, create some visuals and ideas. This will help them get ideas of what they want for their shoot. For the Halloween series, since I wanted to try colored smoke bombs I needed to do some research ahead of time. I watched some videos and checked out multiple smoke bomb companies. I even bought a few extra bombs to practice beforehand. That was very helpful and I was able to see how the smoke worked while photographing my subject and was able to adjust the technique of the smoke.

Secure a Location
Securing a location is an important part of setting up a shoot. Things always get changed during this step and it still happens to me now! In fact the locations for this blog were going to be at various spots and I found out later that the smoke was going to be an issue with the city. The location changed to my backyard to reduce the issue and so I didn’t have to pay an extra fee. I had to contact the subjects and tell them about the change. Luckily, everyone was accommodating but that might happen. In previous shoots I had called places and set up shoots only to find out after I got there that I wasn’t allowed or a fee was needed. If you are a student photographer places are more accommodating, so be prepared for this when you choose public places.
Vision Board & Shot List & Equipment
A vision board is a visualization tool which is usually a board or notebook of ideas. You build a collage of words, pictures, and inspirations. Some use pinterest as a digital vision board. This is more convenient and you can make it a secret board so no one can see. Take into consideration sometimes plans need to change and you may need to adjust your plan. That is my favorite part of the job. You don’t always have control but making due with what’s around will help you become a better photographer and expect to always be learning new things.
A shot list is helos stay on track of your time and what you need to accomplish in the shoot. When you work with so many variables it’s easy to get distracted. Another example of timing is with natural light sometimes you have to watch your time so you don’t miss sunset or have harsh lighting at high noon. This is good to know so you can schedule your subjects for that time needed to accomplish your overall outcome.
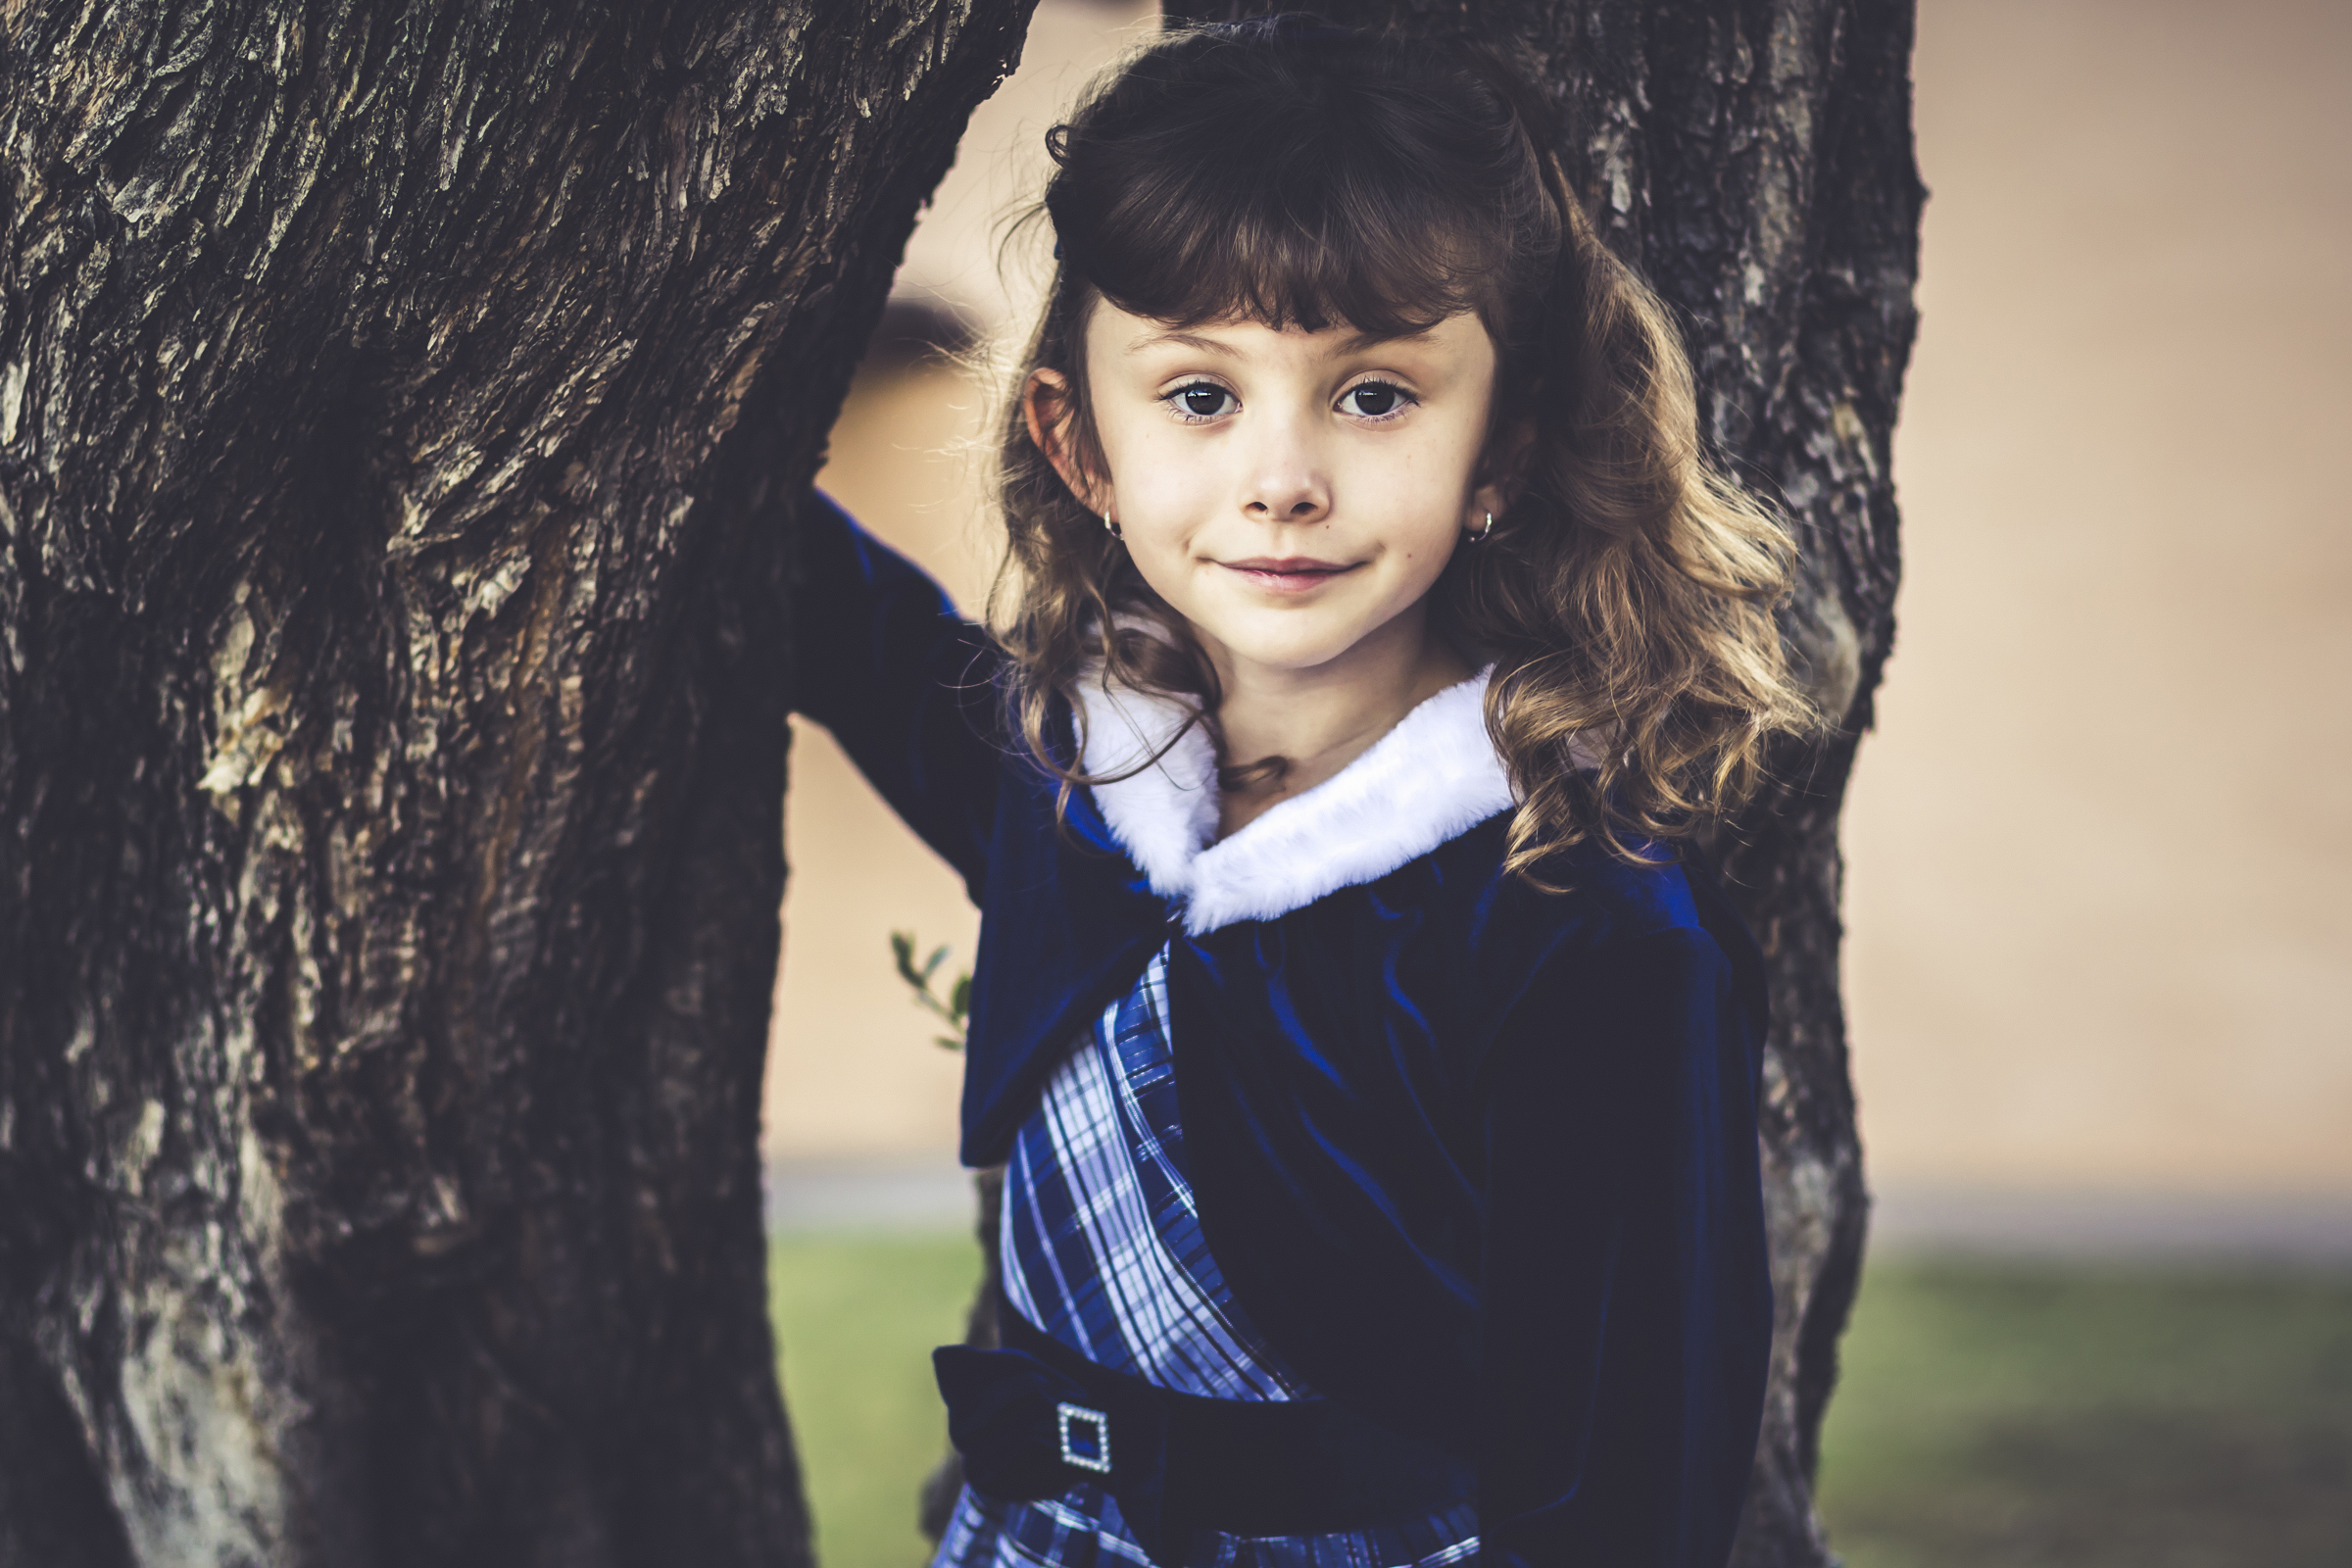
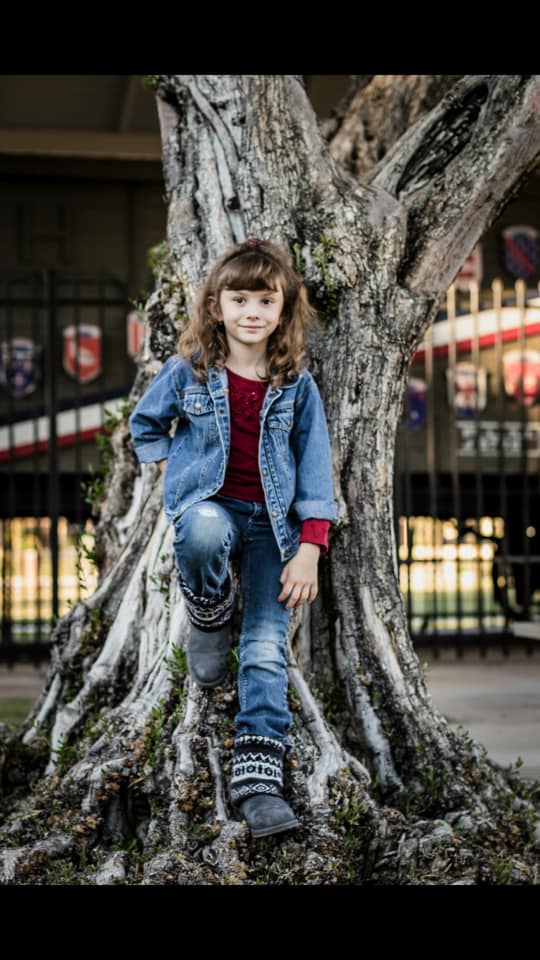
Equipment really depends on what kind of style you want to go for on your choice of equipment. For this shoot, I decided before sunset to get the perfect back lighting. The shoot was going to be under the tree and was going to make it darker so I added some studio lights to my foreground. The subjects were children so that means sudden movements and having the flash lighting will keep my shutter speed up and ISO down which helps with the quality of the images. Studio lights give you a lot more editing capabilities in post also. I highly recommend buying a set when you start out. I use Alien B’s which are reasonably priced, easy to travel with and very durable. I have had mine for almost 8 years and paid $1,200 for a set of 3 lights. I think I have replaced the bulbs and flashes maybe once a year at most and I use them all the time. Here is their website if you want to check it out. My camera I used is a Canon 7D and the lens I played around with. For the practice shots with my kids I used my 28-135mm lens so I can play around more and see what I wanted my vision to look like. At the first photo shoot I started out with my 50mm lens because I wanted a specific shot. I also wanted to change my f-stop to a 2.8 and my standard lens only goes to 3.5 in most cases. The second shoot I switched to my standard lens because I liked the f-stop closer to 4.5 or 5.6 and I wanted to be able to get close ups without having to get closer to my subject.
Find Models/Clients
If you want free models, offering a free photoshoot on social media is a great way to find subjects but always give something in return. Free photos is usually a fair trade or if you want to make money from it advertise a mini session for your idea. If you want some semi-professional models, Model Mayhem which is a site for models needing work or a portfolio work is a great networking site if you want to set up styled shoots on a regular basis. For this shoot, I wanted to interview some twin moms for my next blog so I decided to post on some mom groups I belong to and see if any twin moms were interested in participating.
Timeline
A timeline is the last step before the day of the shoot. Setting up a timeline that has all the details of the shoot is a good way to stay on schedule and keep track of what needs to be done. When shooting time starts the multi-tasking can cause distractions and cause you to miss things or skip over ideas you had. Usually my session can run from 30-90 minutes long. I have included a free PDF of a checklist that helps me stay organized here.
Day of the Shoot
Some of the best advice I have learned about photoshoots is to be adaptable to each situation. Things will go wrong and your idea might not work out the way you planned but you can adjust and make it work for the situation. None of my shoots have ever gone the way I thought and most turned out to a success because of the way I reacted to each problem that arises. During this Halloween series so many issues came up like one subject ran into travel issues and arrived after sunset had happened. I tried to adapt to the lighting but I didn’t have enough lighs setup for the darkness and the subjects started to cry and I knew the mom was stressed from being late, so instead of wasting the smoke bombs and a shoot I knew wasn’t going to go well, I asked the client if they could reschedule and we did. The second time they arrived things went smoother and there was plenty of time to work around the babies that were out of their element. Another shot, the first smoke bomb popped like a firecracker and fell over, scaring one of the kids. He didn’t want to participate anymore so I had to work around that problem. Just remember you can’t control everything in photography and sometimes accidents turn into a great experience and maybe even an award winning shot. As long as you are prepared and organized the day of the shoot all the unexpected will flow easier because you are ready for it.
CONCLUSION:
Behind the Scenes
After finishing up with the shoot, I thought about what I could do differently next time. Being a photographer isn’t about being perfect it’s about the progress and what you learn from it. Taking a look at the smoke bomb shoot I would have spent a few more hundred dollars and practiced more of getting the technique of the smoke overlay. They are only $10 a piece but it does add up since they are only about 60 seconds long. I bought a 10 pack and I would probably by a 30 or 40 pack instead.
I also am glad that I practiced with kids because while it was fun it was a lot harder to get photos with only 2 smoke bombs per shoot. The kids were so intrigued by the smoke behind them that they were less interested in listening to us to look at the camera. Maybe if I had more smoke bombs they would be less interested after a few practice shots. Also because I wanted everyone to be safe I didn’t bring the smoke bombs closer to my subjects. I think if I had adults for the shoot I would have more control of the outcome. Maybe bring the smoke to the pumpkin letting it seep out through the holes with the twinkle lights on. That is what is great about photography is you can change things around and get different results. You can be creative before, during and after the shoot. The possibilities are endless.
Another problem that came out during one of the shoots was one smoke bomb was defective and made a loud pop sound like a firecracker which caused it to fall over and scare one of the kids. Thank goodness I had it 6 ft behind them and no one got hurt but he didn’t want to participate in the photos anymore so I had to work with what I got.
Working with the smoke bombs did have some obstacles but I definitely want to try it again next year and work through the issues I came across during this shoot. I will fore warn you that the smoke smelled pretty bad even though it says they are non-toxic I was having trouble with the smell. I had a fan blowing it away from the kids but that had some effect on my smoke texture in the background. You will notice also that the darker colors of smoke created more of a dramatic effect. The orange yellow smoke wasn’t as full and bubbly-looking as the green and purple smoke. Distance was another thing to take into consideration. Being more than 6 ft behind the subject with the wind blowing slightly made the smoke dissipate quicker from the shot which led to shortened shooting time. I brought in a fog machine to help with filling the outer space. It did ok but next time I need more smoke bombs.
The weather is pretty consistent in the desert but I still had to watch how much wind there was. Luckily there was minimal wind and the weather was perfect. If you would like to know what company I used here is their link. They had the best reviews, the price was discounted for bulk ordering and the product is made specifically for photographers. https://enolagaye.com
Safety Tips:
- It is a grenade just like any firework, safety precautions are important. Be aware of the dangers. Use hand and eye protection at your own discretion.
- Don’t hold the grenade base too tight after pulling the wire because it may get HOT to the touch especially after it is done, it starts to burn more. Keep from touching for about 5 minutes.
- Remember to point it away from the body.
- Set up your shot ahead of time.
- Can get messy and possibly stain clothing
- Make sure it’s not a windy day
- Check out this great video from SLR Lounge on safety tips
Leave a Reply